Skip to content
SAMSUNG
Menu
Home
Stories
Blog Post
Galaxy S24 Ultra
Click Here
Galaxy Z Fold 5
Click Here
Galaxy Z Flip 4
Click Here
Previous slide
Next slide
Galaxy Z Flip 5
Galaxy S24+
Galaxy S24
Popular Series
Recommend Products
Galaxy S24 Ultra
Galaxy S24+
Galaxy S24
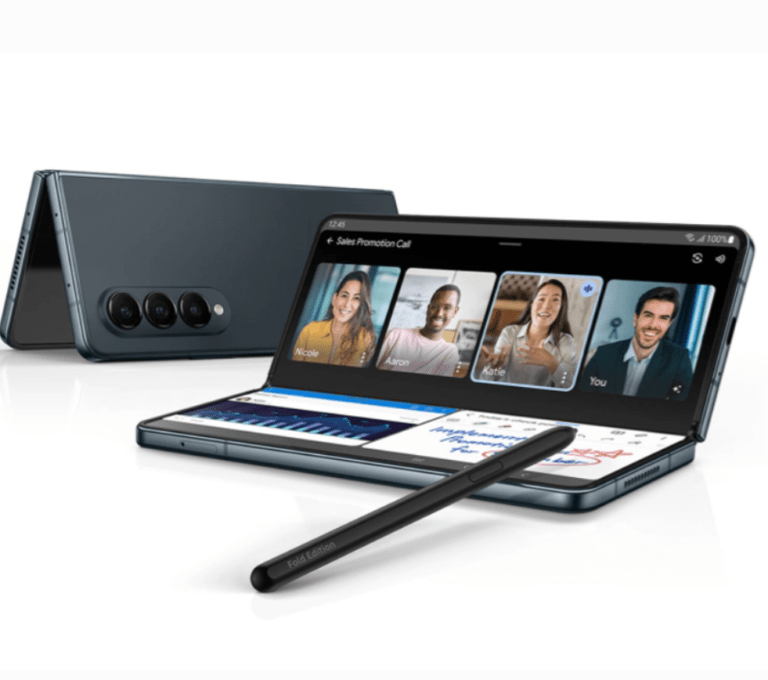
Galaxy Z Fold 5
Galaxy Z Fold 4
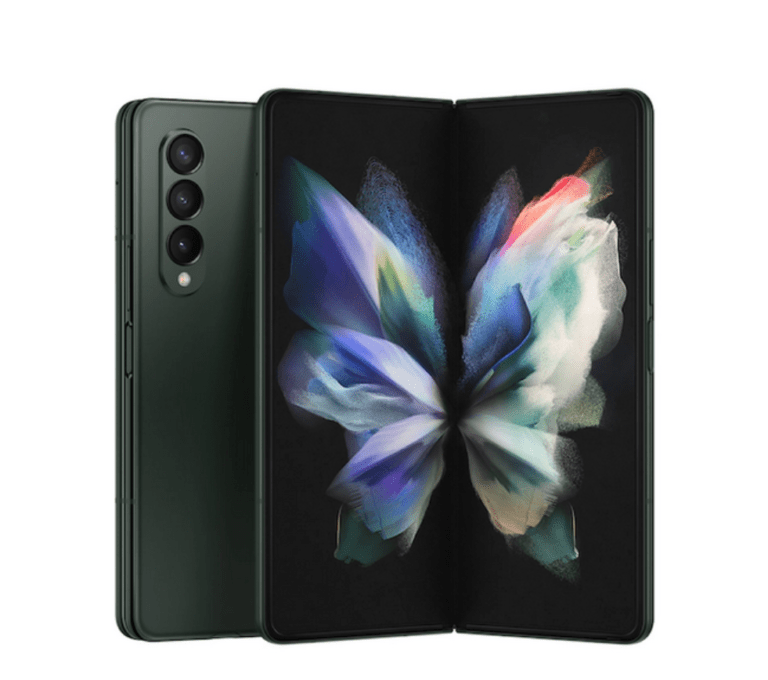
Galaxy Z Fold 3
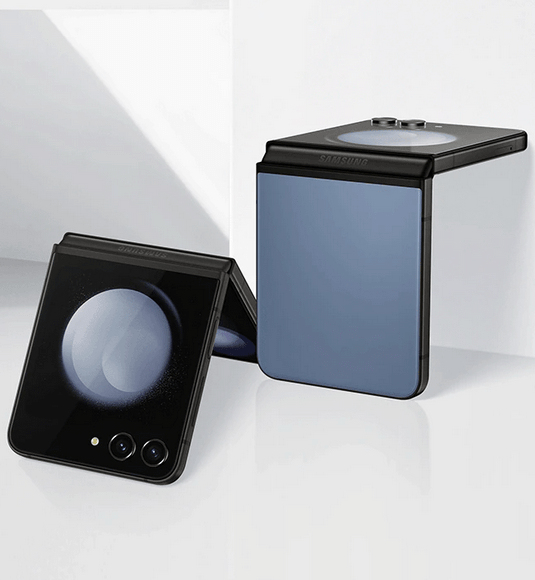
Galaxy Z Flip 5
Galaxy Z Flip 4
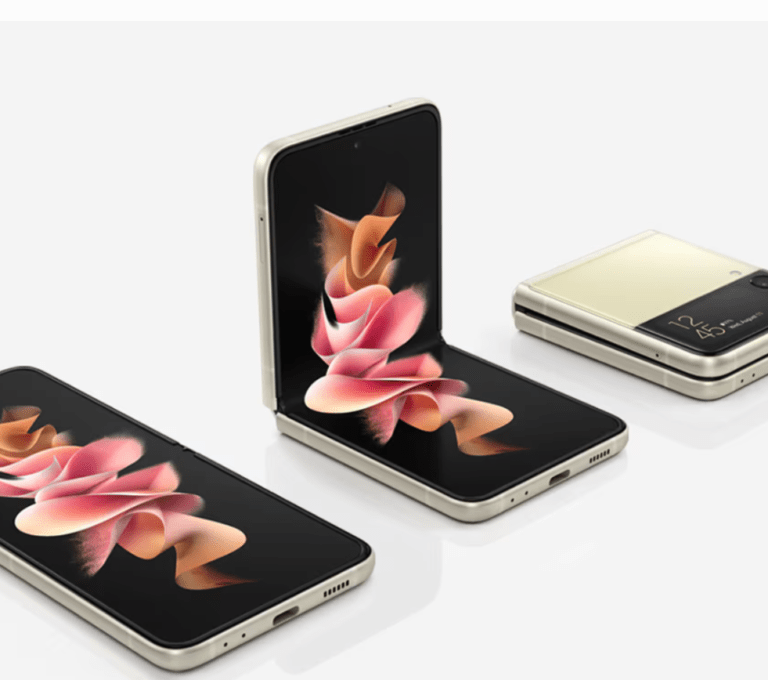
Galaxy Z Flip 3
Galaxy Tab S8 Full Specs
Read More »
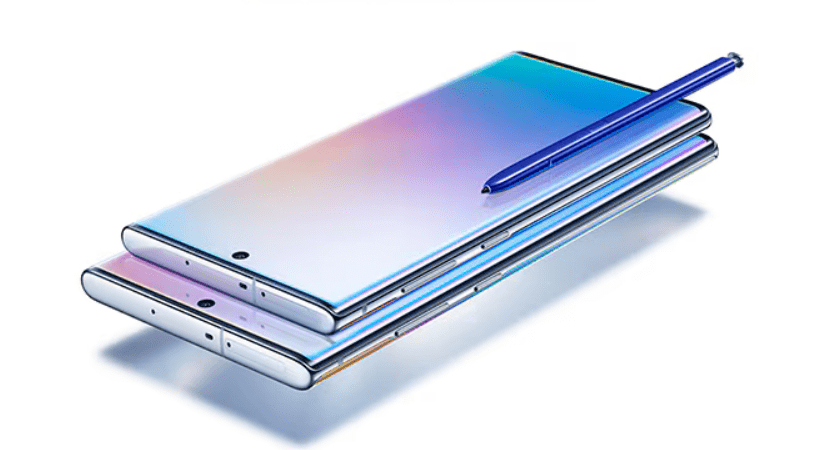
Is it Worth it to Buy Galaxy Note10
Read More »
Samsung Confirms Galaxy Z Fold 6 Battery
Read More »
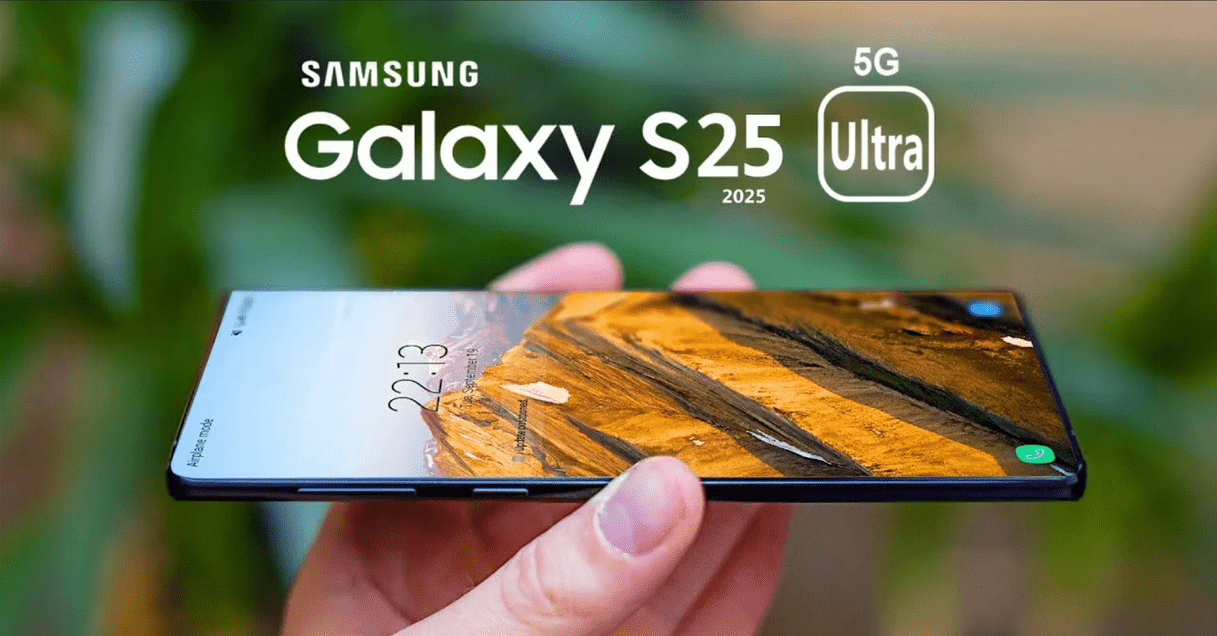
Samsung Galaxy S25 Ultra-Specs,Features & Changes
Read More »
Samsung Galaxy A35: Full Specs and Features
Read More »
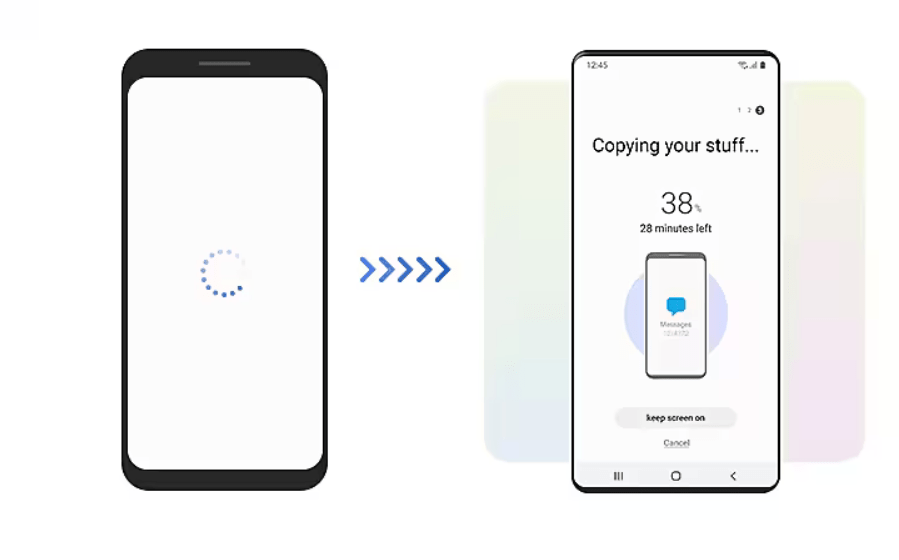
Transferring data between Samsung phones in just few steps
Read More »
Load More
Home
Stories
Blog Post
Close