Skip to content
SAMSUNG
Menu
Home
Stories
Blog Post
Galaxy S24 Ultra
Click Here
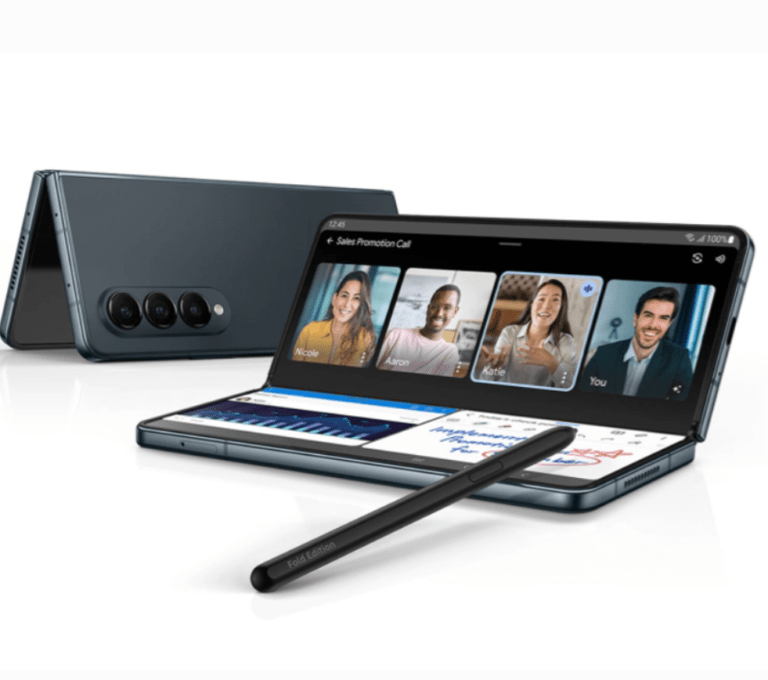
Galaxy Z Fold 5
Click Here
Galaxy Z Flip 4
Click Here
Previous slide
Next slide
Galaxy Z Flip 5
Galaxy S24+
Galaxy S24
Popular Series
Recommend Products
Galaxy S24 Ultra
Galaxy S24+
Galaxy S24
Galaxy Z Fold 5
Galaxy Z Fold 4
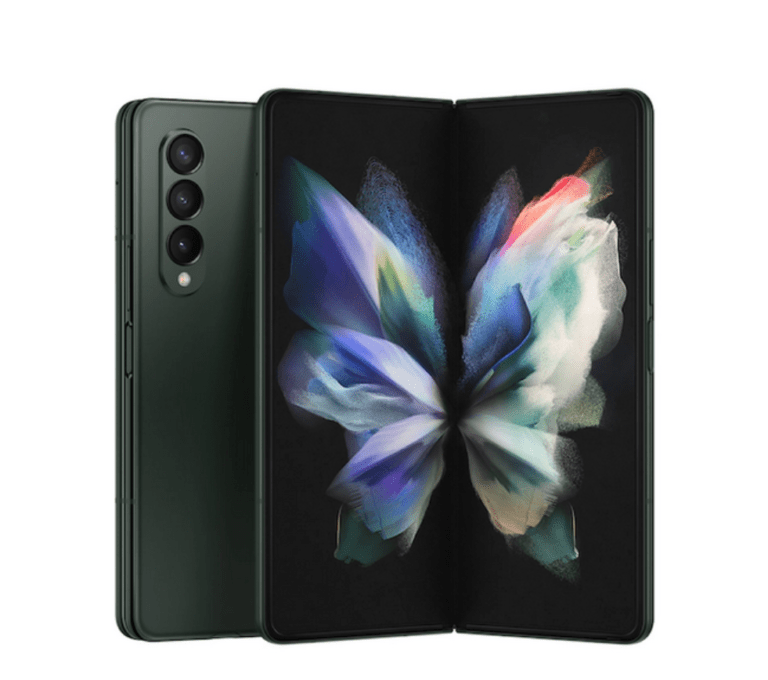
Galaxy Z Fold 3
Galaxy Z Flip 5
Galaxy Z Flip 4
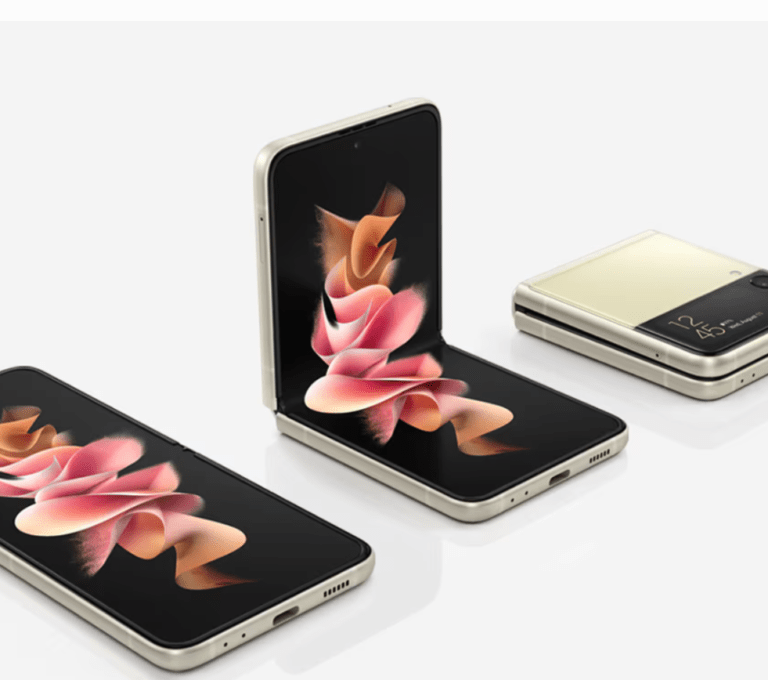
Galaxy Z Flip 3
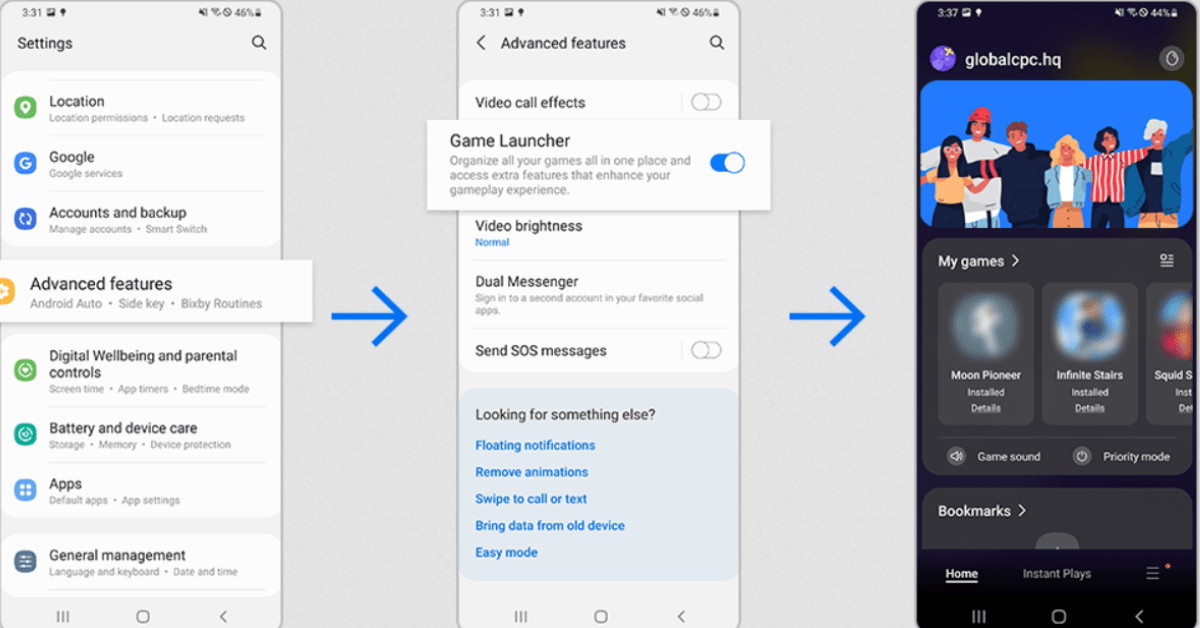
how to enable game booster in Samsung
Read More »
How to Use Samsung Pay | You can set up in just a few steps
Read More »
How to Use Samsung DeX for Your Devices
Read More »
How to Enable Knox on Samsung, Here is the Step by Step Process.
Read More »
Samsung Galaxy S24 Ultra vs Samsung Galaxy S23 Ultra 5g specs
Read More »
Samsung Galaxy Z Flip3 5G
Read More »
Load More
Home
Stories
Blog Post
Close